Why Etch Your Glass Spice Jars?
- Aesthetics
- Organization
- Permanence
Essential Materials for Glass Etching
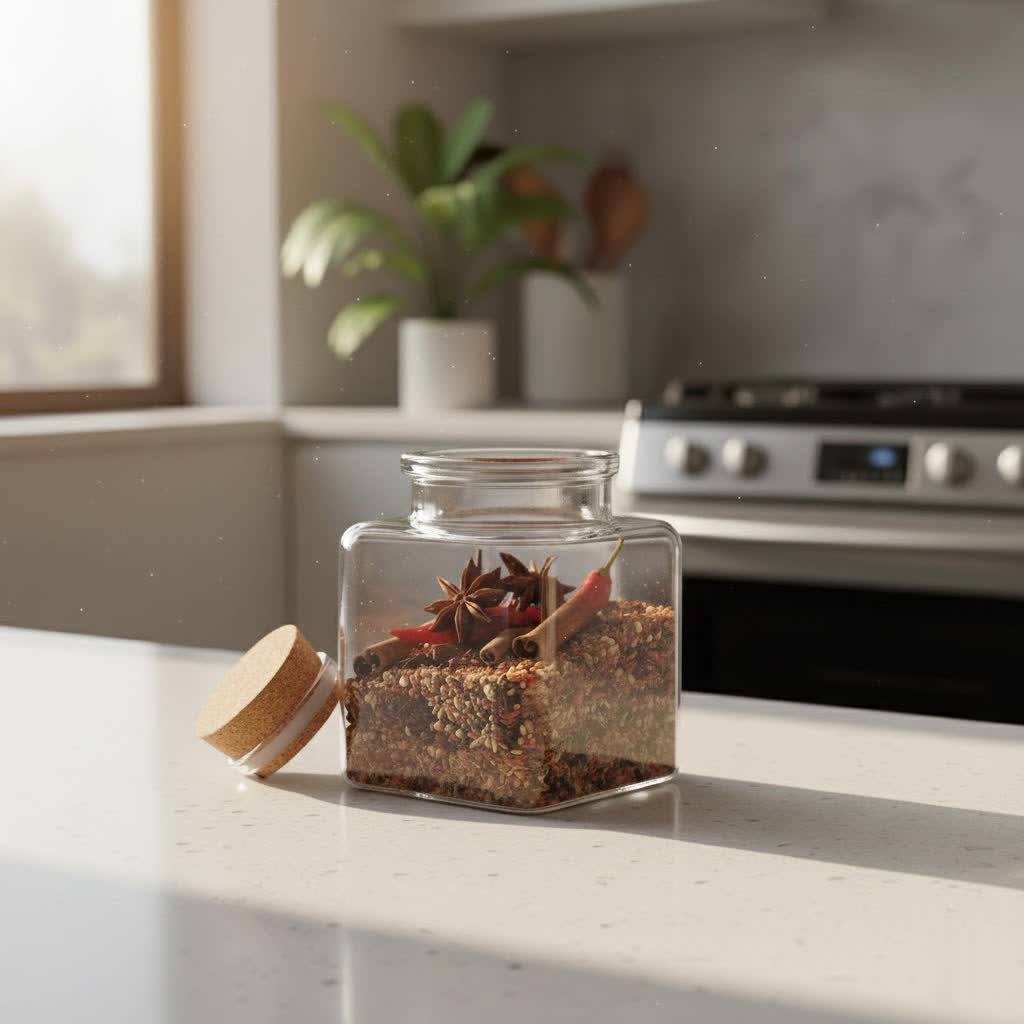
- Glass Jars
- Etching Cream (e.g., Armour Etch)
- Vinyl Stencils
- Application Tools (paintbrush, gloves, eye protection)
- Cleaning Supplies (rubbing alcohol, Goo Gone, soap)
Step-by-Step Guide to Etching Glass Spice Jars
Step 1: Prepare Your Glass Jars
- Cleaning old labels and residue
- Thorough washing and drying
- Final wipe with rubbing alcohol
Step 2: Create and Apply Your Stencil
- DIY vs. pre-made stencils
- Positive vs. Negative etching
- Applying the stencil without bubbles
Step 3: Apply the Etching Cream
- Safety first (gloves, eye protection)
- Even and thick application
- Avoiding splatters
Step 4: Let the Cream Work Its Magic
- Recommended waiting times
- Reapplication for deeper etch
Step 5: Clean Off the Etching Cream
- Careful removal (scooping back into jar)
- Rinsing techniques (outdoor/contained disposal)
- Removing the stencil
Step 6: Final Touches and Curing
- Cleaning residue
- Drying and admiring your work
Tips for Perfect Etched Labels
- Ensure a clean surface
- Secure your stencil
- Apply cream generously and evenly
- Pay attention to timing
- Rinse thoroughly
Troubleshooting Common Etching Issues
- Uneven etching
- Cream bleeding under stencil
- Faint etch
Maintaining Your Etched Glass Jars
- Washing etched jars
- Longevity of etching
Conclusion
- Recap benefits
- Call to action
Frequently Asked Questions
- Is glass etching permanent?
- Is glass etching safe?
- Can I use any glass for etching?
- How long does glass etching cream last?
- Can I remove etching if I make a mistake?
I will now proceed to write the article in English, following all the specified guidelines, especially the strict output rules.