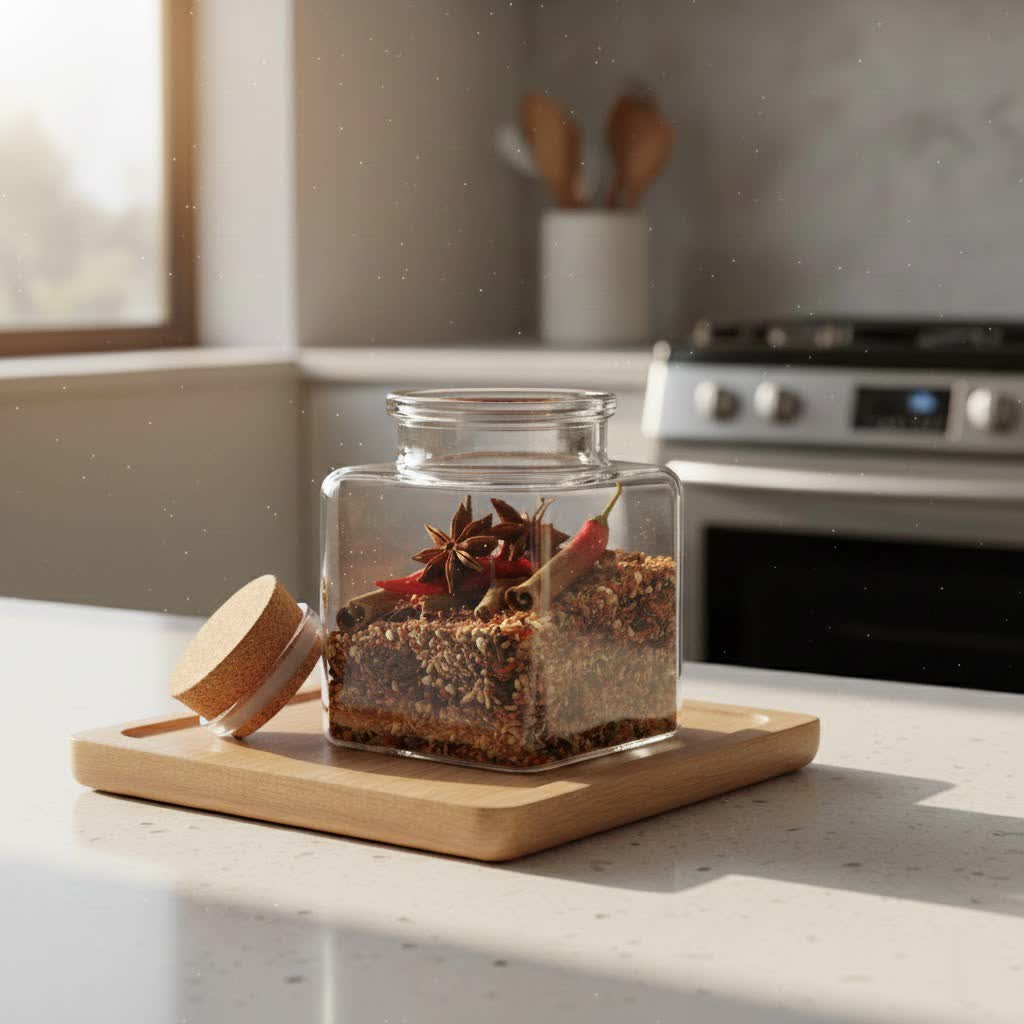
Transforming ordinary glass spice jars into personalized culinary keepsakes is a rewarding craft that adds both aesthetic charm and practical organization to your kitchen. Imagine a collection of perfectly matched jars, each etched with a unique design or the name of its contents, bringing a cohesive and sophisticated look to your pantry or countertop. This detailed guide will walk you through two popular methods for etching glass—using etching cream and a Dremel rotary tool—empowering you to create custom designs that reflect your style and elevate your home.
Why Personalize Your Spice Jars with Etching?
Beyond simple aesthetics, etching your glass spice jars offers a multitude of benefits. Firstly, it brings unparalleled organization to your spice collection. No more guessing which white powder is onion or garlic! Secondly, etched jars significantly enhance your kitchen’s aesthetics, creating a uniform and elegant display that store-bought labels can’t match. Each jar becomes a tiny work of art, reflecting your personal touch. This DIY project also provides immense satisfaction, allowing you to express creativity and customize your space without a hefty price tag. Moreover, custom-etched jars make thoughtful and unique gifts for fellow food enthusiasts, showcasing a personal effort that mass-produced items lack.
Method 1: Effortless Elegance with Etching Cream
Glass etching cream offers a simple, chemical-based approach to creating beautiful frosted designs. It’s often favored by beginners for its relatively straightforward process and consistent results.
What You’ll Need
- Smooth Glass Spice Jars: New or repurposed, thoroughly cleaned.
- Glass Etching Cream: Brands like Armour Etch are popular.
- Vinyl Stencils: Pre-made adhesive stencils, or custom-cut designs using a vinyl cutting machine (like Cricut) or an X-Acto knife with contact paper.
- Transfer Tape: For applying complex vinyl stencils.
- Small Paintbrush: Avoid foam brushes, as they may not provide an even application.
- Disposable Gloves: Essential for protecting your hands from the etching cream.
- Eye Protection: Safety goggles are highly recommended to prevent accidental splashes.
- Rubbing Alcohol (Isopropyl Alcohol) or Glass Cleaner: For preparing the glass surface.
- Paper Towels or Soft Cloth: For cleaning and drying.
- Scraper Tool: Or an old credit card, to press down stencils.
- Timer: To accurately time the cream application.
Step-by-Step Guide:
- Prepare Your Glass Jars: Begin by meticulously cleaning your glass spice jars. Use rubbing alcohol or glass cleaner to remove all traces of dirt, dust, grease, and fingerprints. A pristine surface is crucial for the etching cream to adhere properly and create a crisp design. Allow the jars to dry completely.
- Design Your Stencil: Decide on your design. This could be simple spice names, intricate patterns, or personalized monograms. If using a vinyl cutter, design and cut your stencils. If hand-cutting, draw your design onto contact paper or vinyl and carefully cut out the desired areas using an X-Acto knife. Remember whether you want a “positive” etch (design is frosted) or a “negative” etch (background is frosted, design is clear).
- Apply the Stencil: Carefully position and apply your vinyl stencil onto the clean, dry glass jar. For complex designs or lettering, use transfer tape to ensure all parts of the stencil adhere correctly. Once in place, use a scraper tool to firmly press down all edges of the stencil, removing any air bubbles, especially around the areas you intend to etch. This step is critical to prevent the etching cream from seeping underneath and creating blurry edges.
- Generously Apply Etching Cream: Don your disposable gloves and eye protection. Using your paintbrush, apply a thick, even layer of etching cream over all exposed glass within your stencil. Think of it like “frosting a cake”—you want a generous, opaque coating to ensure a consistent etch. Work quickly but carefully to avoid splattering the cream outside the stencil boundaries.
- The Waiting Game & Removal: Consult the etching cream’s instructions for the recommended waiting time. This is typically between 1 to 5 minutes. Some products suggest a 5-minute wait followed by a reapplication for another 5 minutes, while others require just a single application. Do not exceed the recommended time, as it can over-etch the glass or affect the final finish. Once the time is up, use your paintbrush or an old plastic spatula to carefully scrape off the excess cream, returning it to its original container if the product is reusable.
- Rinse and Reveal: While still wearing gloves, immediately and thoroughly rinse the etched area under warm running water. It is highly advisable to do this outdoors with a hose or in a utility sink, away from porcelain sinks, as etching cream contains hydrofluoric acid that can damage porcelain. Once the cream is completely rinsed off, gently peel away the vinyl stencil and any masking tape.
- Final Touches: Use glass cleaner or rubbing alcohol to wipe away any residual cream or adhesive. Marvel at your perfectly etched design!
Pro Tips for Flawless Cream Etching
- Stencil Adhesion is Key: Any tiny gap or bubble under your stencil will allow cream to seep, creating an imperfect edge. Take your time pressing down every part of the stencil.
- Even and Thick Application: A thin or uneven coat can result in a patchy or faint etch. Be generous with the cream.
- Prompt Rinsing: Don’t let the cream dry on the glass for too long, as this can make it harder to remove and may affect the etch quality.
Safety First with Etching Cream
Always wear disposable gloves and eye protection. Work in a well-ventilated area to avoid inhaling fumes. If cream comes into contact with skin, rinse immediately and thoroughly with water. Dispose of rinse water carefully, ideally not down a porcelain drain.
Method 2: Precision and Detail with a Dremel Tool
For those who enjoy a more hands-on, artistic approach, or who desire very fine lines and textured designs, a Dremel rotary tool offers excellent control and versatility. This method involves physically engraving the glass surface.
Gather Your Engraving Essentials
- Glass Spice Jars: Clean and dry.
- Dremel Rotary Tool: (e.g., Dremel Lite 7760)
- Silicon Carbide Grinding Stone: (e.g., Dremel 84922) for initial etching and broader areas.
- Carving Bit: (e.g., Dremel 125) for intricate details and finer lines.
- Design Template: Printed or hand-drawn, sized to fit your jar.
- Painter’s Tape or Masking Tape: To secure your design template.
- Safety Goggles: Absolutely essential for eye protection from glass dust.
- Glass Cleaner or Rubbing Alcohol: For pre- and post-cleaning.
- Soft Cloth: To wipe away glass dust.
Step-by-Step Guide:
- Clean Your Jars: Just like with etching cream, a clean surface is paramount. Wash your glass jars with glass cleaner or rubbing alcohol and dry them completely.
- Secure Your Design Template: Print or draw your desired design. Tape this design template to the inside of your glass jar, facing outward. This allows you to easily see and trace the design from the exterior of the jar. Ensure it’s secured without wrinkles.
- Gear Up for Safety: Put on your safety goggles before you begin. Fine glass dust will be created, and protecting your eyes is critical.
- Begin Engraving: Attach the Silicon Carbide Grinding Stone (e.g., 84922) to your Dremel tool. Set the tool to a medium speed. Gently and steadily begin to trace the lines of your design on the outside of the glass jar. Use light, consistent pressure to create a smooth, frosted effect.
- Add Fine Details: For more intricate elements, switch to a finer Carving Bit (e.g., Dremel 125). This allows for precise lines, shading, and refining the edges of your design. Maintain a steady hand and apply light pressure to avoid over-etching or mistakes.
- Clean Up Your Masterpiece: Once you’ve completed your design, use a soft cloth to gently brush off any glass dust from the surface. Inspect your work, ensuring all lines are clear and the design is even. If needed, you can go over certain areas again with either the grinding stone or carving bit for touch-ups. Finally, clean the jar thoroughly with glass cleaner to remove any remaining dust or fingerprints.
Expert Advice for Dremel Etching
- Practice Makes Perfect: Always practice on a spare piece of glass or an old jar first. This helps you get a feel for the tool’s speed, pressure, and how it interacts with the glass.
- Steady Hand and Light Pressure: Avoid pressing too hard, which can cause the bit to slip or create uneven lines. Let the Dremel tool do the work.
- Varied Bits for Versatility: Experiment with different grinding stones and carving bits to achieve varied textures and line thicknesses.
Dremel Safety Essentials
Always wear safety goggles to protect your eyes from glass dust. Consider a dust mask if working for extended periods or if you are sensitive to dust. Ensure you have a firm grip on the tool and are working in a stable environment to prevent slips or accidents.
Crafting Your Perfect Design: Tips for Stencils and Creativity
The beauty of etched spice jars lies in your unique designs. Whether you’re a seasoned crafter or a complete novice, there are many ways to approach your stencil creation:
- Vinyl Cutting Machines: Devices like Cricut or Silhouette offer unparalleled precision and allow you to create intricate, custom stencils from adhesive vinyl with ease.
- Pre-made Stencils: Many craft stores sell adhesive stencils with various fonts and designs, perfect for quick and easy application.
- Hand-Cutting: For a more rustic or personal touch, draw your design directly onto contact paper or stencil vinyl and carefully cut it out with an X-Acto knife or craft blade. This method gives you complete control over unique fonts and illustrations.
- Positive vs. Negative Space: Consider whether you want your design to appear frosted against clear glass (positive etch) or clear against a frosted background (negative etch). This choice will dictate how you cut your stencil.
Care and Maintenance for Your Etched Spice Jars
Etched glass is durable and easy to maintain. Hand washing with warm, soapy water is generally recommended to preserve the integrity of your designs, especially for cream-etched jars. While some etched jars might be dishwasher safe, extreme temperatures and harsh detergents over time could potentially affect the etched surface. For Dremel-etched jars, the physical engraving is permanent and will withstand regular washing. Always ensure jars are completely dry before refilling them with spices to prevent clumping and maintain freshness.
Conclusion
Embracing the art of glass etching allows you to transform simple Glass Spice Jars into functional works of art, bringing a cohesive and personal touch to your kitchen organization. Whether you choose the ease of etching cream or the precision of a Dremel tool, the process is a rewarding journey of creativity and craftsmanship. By following these detailed steps and safety guidelines, you can confidently create custom designs that not only organize your spices but also reflect your unique style. So, gather your materials, choose your method, and embark on this delightful DIY project. What unique designs will you bring to life in your kitchen?
Frequently Asked Questions
Is glass etching permanent?
Yes, both glass etching cream and Dremel tool engraving create a permanent frosted effect on the glass surface. The chemical reaction from the cream or the physical abrasion from the tool permanently alters the top layer of the glass, making the design durable and resistant to washing or scratching.
Can I etch any type of glass jar?
Most smooth glass jars can be etched. However, avoid etching crystal or tempered glass (like car windows or some bakeware) as they can react unpredictably to etching cream or be too brittle for engraving. Always test on an inconspicuous area if unsure.
How long does glass etching cream take to work?
Glass etching cream typically takes between 1 to 5 minutes to achieve its full effect. Always follow the specific instructions on your product’s packaging, as timings can vary slightly between brands. Exceeding the recommended time does not necessarily result in a deeper etch and can sometimes lead to less desirable results.
What if etching cream seeps under the stencil?
If etching cream seeps under the stencil, it will create blurry or imperfect edges. To minimize this, ensure your stencil is pressed down very firmly, especially around the edges of your design, and use a scraper tool to eliminate any air bubbles before applying the cream. If seepage occurs, you might be able to carefully scrape off fresh cream with an X-Acto knife before rinsing, but it’s often difficult to fully correct once etched.
Can I use a Dremel tool for intricate designs?
Yes, a Dremel tool is excellent for intricate designs, especially when combined with specialized carving bits (like the Dremel 125 Carving Bit). The precision control of the tool allows for very fine lines and detailed patterns, making it a favorite for artists looking to create elaborate engravings. Practicing on scrap glass will help you master the necessary steady hand and light pressure for detailed work.